Documentation:Open Badges/Create/Wordpress/Portability
Mozilla's Backpacks is the most widely used tool for storing and sharing Open Badges. Earners can achieve badges from many different sources and display them in one common area. This toolkit will guide you through enabling portability (sharing) for your WordPress badges.
|
A note for badge earners: UBC associates badge earning with your CWL. In order to push UBC WordPress badges to a Mozilla Backpack, the earner needs to have the same email address associated with both accounts. For earners creating their Backpack account for the first time, it is recommended that they sign up using their CWL email address. For earners that already have a Backpack account, there is information about how to change or add email addresses at How do I manage my Persona account?
Step 1 - Activate BadgeOS Issuer Plugin
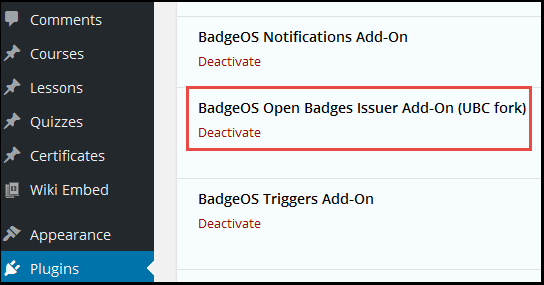
The BadgeOS Open Badges Issuer Add-On (UBC fork) plugin is required in order to allow users to push awarded badges to their Mozilla Backpack. To activate this plugin, visit support.cms.ubc.ca and request the activation of this plugin.
Once the plugin has been activated, you can view it under Plugins

Additional information about activating plugins can be found under the WordPress set up toolkit
Step 2 - Create Claim Page
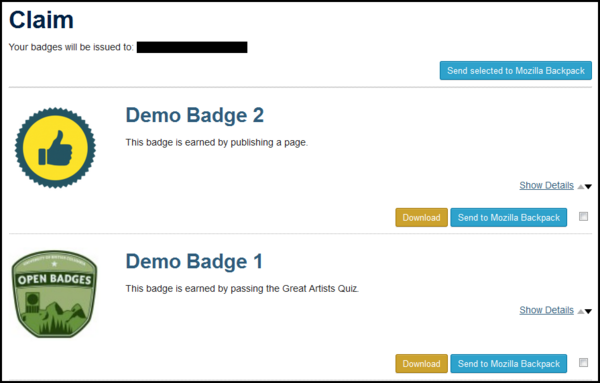
Creating a Claim page will allow earners to decide which, if any, of their awarded badges they want to push to their Mozilla Backpack.
From your WordPress Dashboard click on Pages > Add New
Enter Claim or Claim Badges in the title field.
In the text box, type the following:
Your badges will be issued to: [badgeos_backpack_registered_email] [badgeos_backpack_push] |
Click Publish.
When students earn a badge, it will appear on the Claim page for them.
Additional Resources
There are additional resources on using Mozilla Backpacks available from the Resources page, including how to create a Mozilla Backpack and how to create collections in your Backpack.


