Documentation:OpenBadges/Faculty Guide/Web Design/Create/Earners/Sharing
After you click the hyperlink symbol and select the LinkedIn option on the pop-up menu, LinkedIn will ask if you want to the badge quietly to your profile, or if you want to make it an update so everyone knows about your new badge.
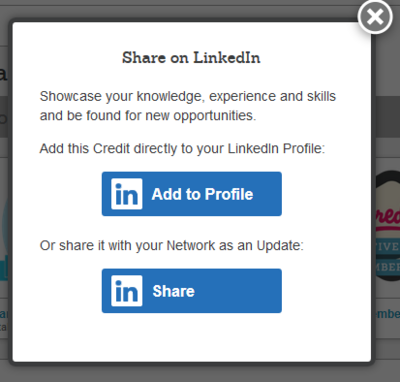 |
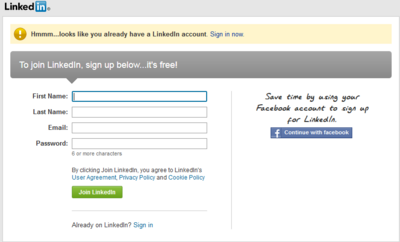
Let's assume you want to add it to your profile quietly. Click "Add to Profile." You'll then be asked to login to your LinkedIn account.
 |
Go to your LinkedIn page and at the top, you should see the following:
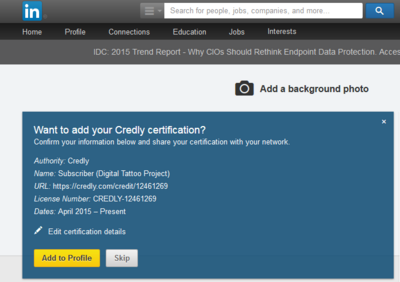 |
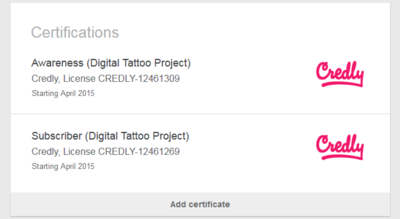
Click the yellow button that says "Add to profile." Scroll down your profile to the Certifications section and check out your badges! Woowoo!
 |
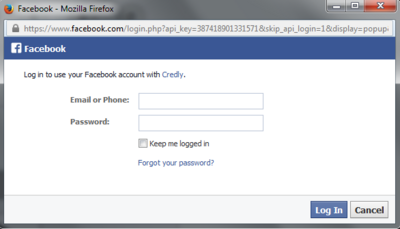
After you click the hyperlink symbol and select the Facebook option on the popup window, you'll be asked to login to your Facebook account.
 |
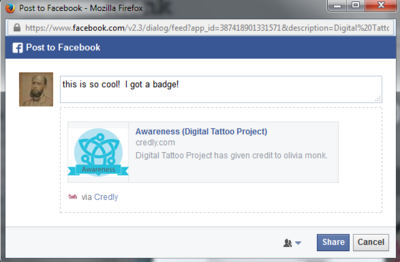
Facebook will ask if you want to add a comment to your post before you share it. Type in your thoughts.
 |
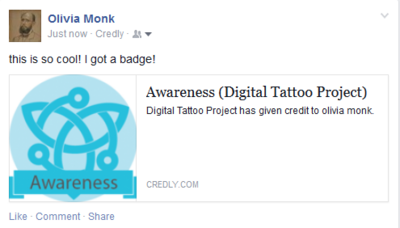
Click "Share" and go to your Facebook feed. Now everyone can see what you accomplished :-)
 |
After you click the hyperlink symbol and select the Twitter option on the popup window, you'll be asked to login to your Twitter account.
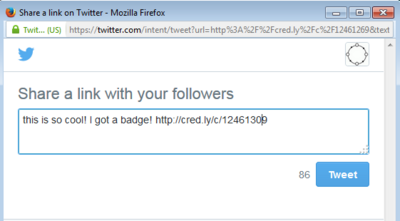 |
Modify the tweet and check it out on your feed!
 |
Mozilla Backpack
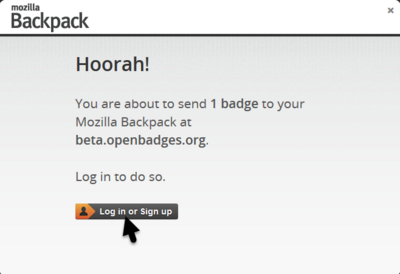
After you click the hyperlink symbol and select the Mozilla option, Mozilla will let you know that you are about the send the badge to your backpack. You will then be prompted to login to your Mozilla Backpack account. If you have an account, click the login button.
- Note: Documentation on creating a Backpack account is coming soon.
 |
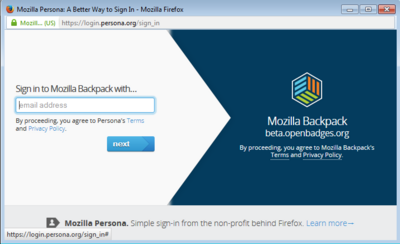
Here's what signing into your Backpack looks like:
(Note: if you are already signed into your Backpack, you won't get this prompt, and instead will be taken straight to the next step.)
 |
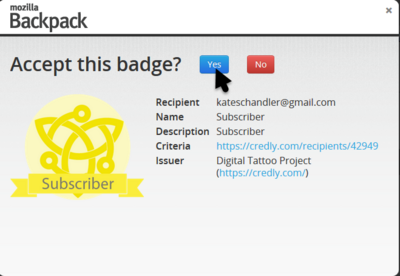
Next, Mozilla will ask if you want to accept the badge. Click the "accept" button.
 |
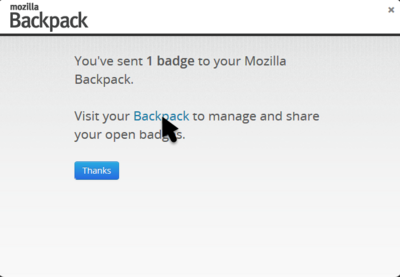
A new pop-up appears confirming that you've
exported your new badge to the Backpack.
Click the word "Backpack" - which should be hyperlinked -
to see your new badge in the Mozilla Backpack.
 |
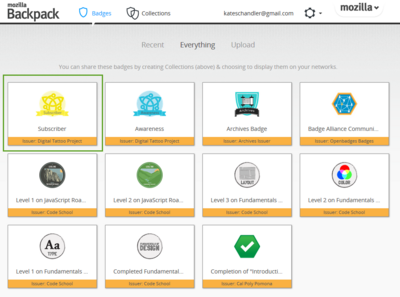
And ta-da! Your new badge is in your Backpack!
 |
Website or Blog
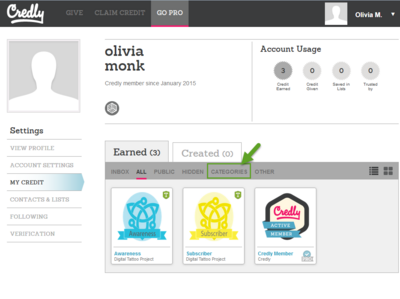
To put your badge into a website, go to your Credly account. On the right-hand menu select "Credit," which will show your badges enclosed in a square. This square will have headers such as "Inbox," "All," "Public," "Hidden," "Categories," and "Other." Select the header called "Categories."
 |
If you do not have any categories, you'll need to create one. Check out the "Creating a Badge Collection" page to create a category. (Note: Mozilla calls these collections of badges "collections," but Credly calls them "categories." Just so you know, they both mean the same thing.)
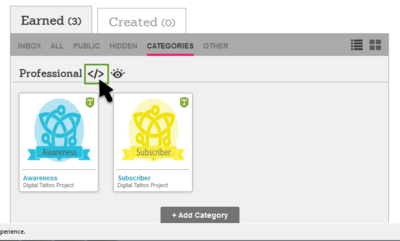
Once you've created a category click the </> icon next to the category name.
 |
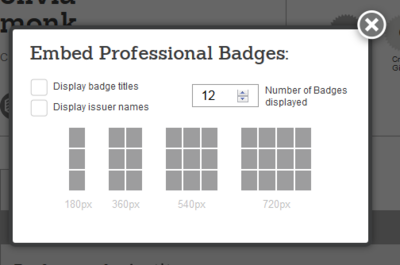
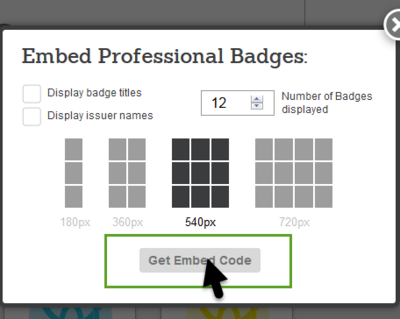
A pop-up will appear asking you to select a grid option. This determines how big the badge will be on your webpage.
 |
Once you make this choice, a message will appear asking you if you would like to get the embed code.
 |
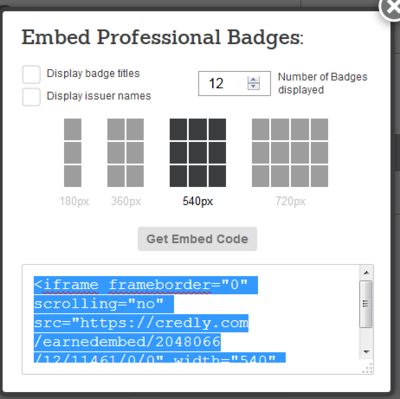
Highlight the code and press "CTRL+C." This copies the code.
 |
If you modify your website by changing the HTML files, open the file for the page where you want to display your badge and paste in the badge code by pressing CTRL + P.
 |
If you have a website powered by WordPress or Blogger, you'll need to navigate to the HTML backend of your website. To get there, first go the webpage where you want to show your badge. Then click the tab that shows the HTML of that webpage. If you're in WordPress, this is the "Text" tab in the upper-right corner.
 |
For Blogger, click the "HTML" tab in the upper-left corner.
 |
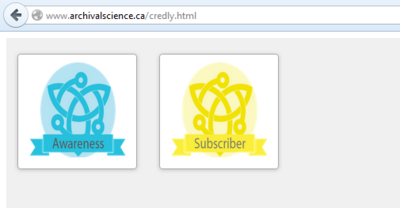
When you've pasted the badge code, publish the webpage. Looking pretty nice!
 |
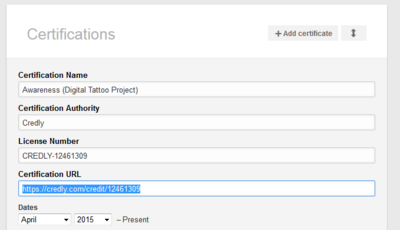
- Note: Credly only posts a picture of your badge, and does not include a hyperlink to the badge metadata. If you need to do this, find the webpage for your badge by posting your badge to LinkedIn, and clicking the pencil symbol beside the badge name. Doing this should bring up a list of metadata, including a field for certification. You can copy the web address from the badge in this field.
 |
Similarly, you can click the "evidence" field in the Mozilla Open Badge metadata. This also contains the web address of your badge.
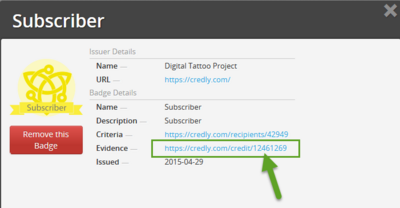 |
Press CTRL +C to copy the website address of your badge. Next, navigate back to your Credly page and take a screenshot of your badge. Save this as a picture, then upload it to the files associated with your website.
You now need to do some HTML! The general form of your HTML line will look something like this: <a href="badge web address"><img src "badge image name"/></a>
Here is an example:
<a href="https://credly.com/credit/12461269"><IMG SRC="badge_credlyworkaround.png"/></a>
Put this code into your website and revel in the joy of a clickable badge!