Documentation:OpenBadges/Faculty Guide/Web Design/Create/Earners
Earning at Badge at UBC

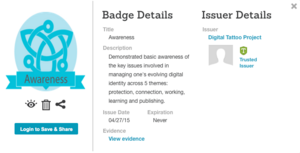
When you earn an open badge at UBC, you may be able to send your badge to a badge profile site called Credly to share publicly. Credly provides badge earners with a spaces to store, manage and showcase their badge credentials.
You will only be able to send your badge to Credly if the program or course designed the badges to be sent. Some badges may only be viewable on the website where you earned them.
- If the badge has been set-up to be portable to Credly, you will be sent an email. The email will go to the account attached to your CWL.
- Once you receive the email, click on the link labeled "Save & Share."
- You will need to create a Credly account to save this badge on the profile site. To learn how to create an account, go to the "Create a Credly Account" guide below.
- Sign in to your Credly account.
- Select the "Accept" link under the badge image. The badge will now be in your collection.
Creating a Credly Account
To share your badges on a variety of social network sites, you will need to create a Credly account. Credly provides badge earners with a spaces to store, manage and showcase their badge credentials. The following guide illustrates all the steps to create an account.
For UBC badges, you must connect initially connect your Credly account to your UBC email assigned to your Campus Wide Login (CWL.)
- If you'd like to create a new CWL account, please go to https://www.cwl.ubc.ca/SignUp
- If you'd like to manage your account, including finding the email assigned to your CWL, please go to https://www.cwl.ubc.ca/myAccount
 |
 You can change your primary email to any email you choose once you have an account. |
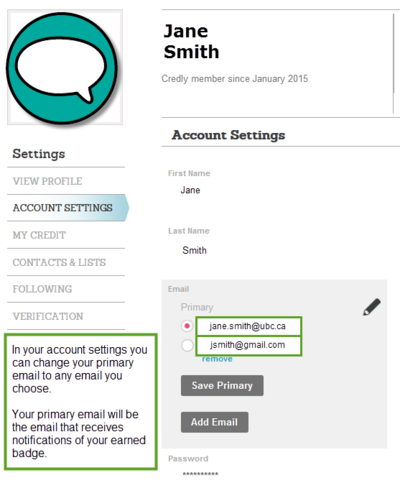 From the "Account Settings" add any email you choose (e.g. gmail, hotmail, etc.) and choose which email you would like as your primary email. This will make all badge earning notifications come to your primary email. You will also login using this email account. |
Creating Private & Public Badges
Once you've earned a badge, and put it into your Credly account, your badge acquires its own web address.
This web address can be public, which means it can be viewed by others. It can also be private, which means it can be viewed only by you.
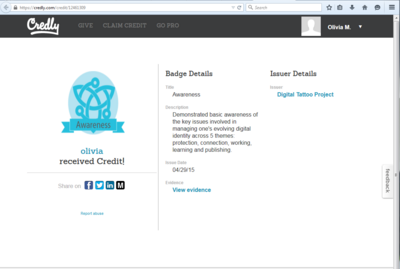
Here's what the webpage of your badge looks like when you've decided it make it public:
 |
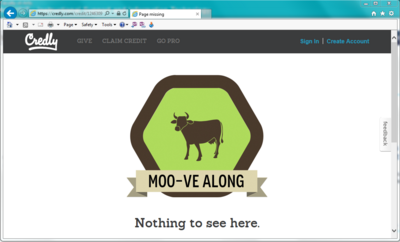
And here's what it looks like when you've decided to make it private:
 |
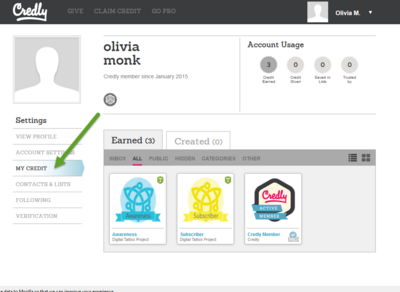
If you would like to change the public or private status of your badge, go to your Credly page. On the right-hand menu select "Credit," which will show your badges enclosed in a square.
 |
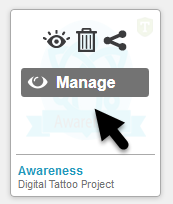
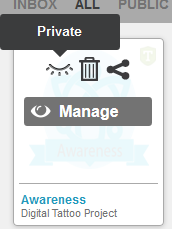
Hover your cursor over the image of your badge in your Credly account and three symbols will appear: an eye (it may be open or closed), a trashcan, and the hyperlink symbol.
 |
 |
 |
 |
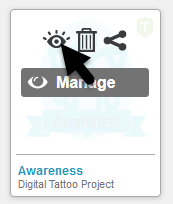 |
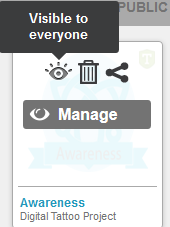
Want to turn it back to a public badge? Click the symbol again.
Creating a Badge Collection
If you have a lot of badges, you can group your badges into collections. One of the advantages of making collections is that you can make the entire collection either public or private, which saves you the work of turning off and on the private and public status of many badges. (Note: Credly does not have the ability to export collections of badges to social media sites, but there is a workaround: you can export your badges to the Mozilla Backpack, which will allow you to export collections. We'll teach you how to do that XXX)
To make a collection go to your Credly page. On the right-hand menu select "Credit," which will show your badges enclosed in a square. This square has headers, with the titles like "Inbox" "All" "Public" "Hidden" "Categories" and "Other." Click the header called "Categories."
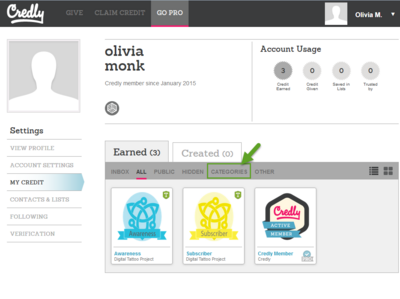 |
You should now see a black rectangle with the words "+ Add Category." Click this.
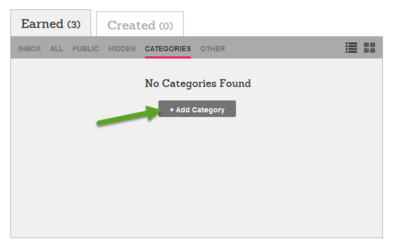 |
The page will darken and a pop-up will appear with the words "Create a new category." Type the name of your new collection into the pop-up and press "Save."
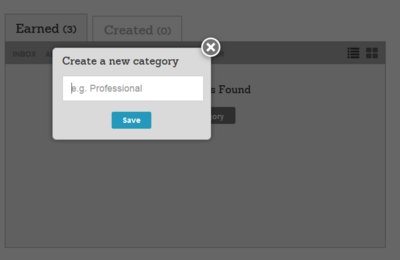 |
Then, click the "All" header and hover over the badge you want to put into your newly created category. You should see three symbols appear, as well as a box holding the word "Manage." Click this box.
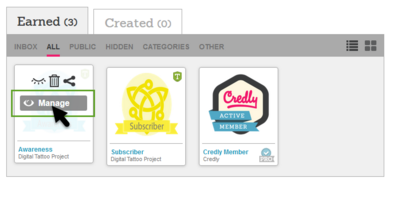 |
Now, all the details relating to the badge should take front and center on your screen. Under the badge image is an option to "Select Category."
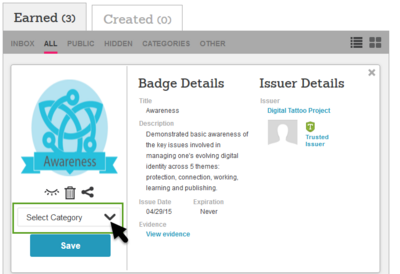 |
If you click this box, the name of your newly created category should appear. Check the checkbox next to its name, and press "Apply,"
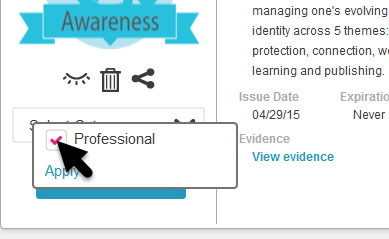 |
Next, press "Save."
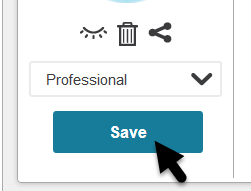 |
And voila! Check out the "categories" header to see the first badge in your new collection.
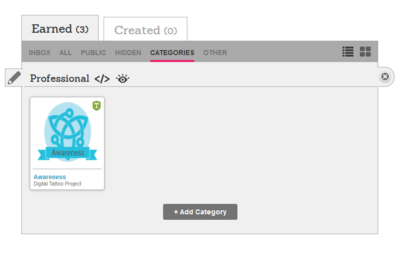 |
If you want to make the collection private, simply click the eye symbol next to the collection name.
A closed eye means it is private.
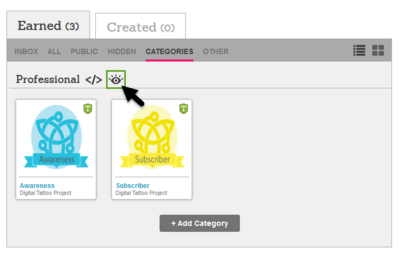 |
If you want to make the collection public, click the eye again. An open eye means it is public.
Sharing Badges on Social Networks
Want to post your badge to a social media site like Twitter, Facebook, LinkedIn, or Mozilla?
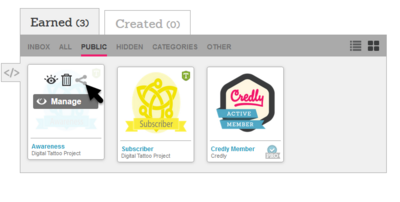
First, go to your Credly account. On the right-hand menu select "Credit," which will show your badges enclosed in a square. Hover over a badge and three symbols will appear: an eye, a trashcan, and the hyperlink symbol. Click the hyperlink symbol.
 |
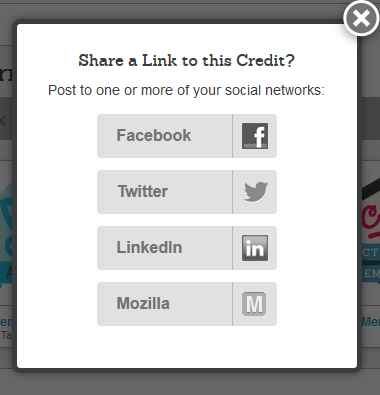
A pop-up will appear saying "Share a link to this Credit?"
Select the social media platform of your choice.
 |
These guides show you the process of sharing your badges on the following social network sites: