Documentation:UBC iClicker User Guide (Mac)/iGrader: Session Grades and Exporting Grades
iGrader looks a bit complicated. There are so many features! How do I use to export the marks on Vista?
Note: You need to be if on ubcsecure on campus or myvpn.ubc.ca if off campus.
- 1. In your iClicker course folder, open the i>grader application.
- 2. Choose the desired course from the course list. Click "Open i>grader".
- 3. The interface of iGrader has a table with your students in each row and each clicker session in the column
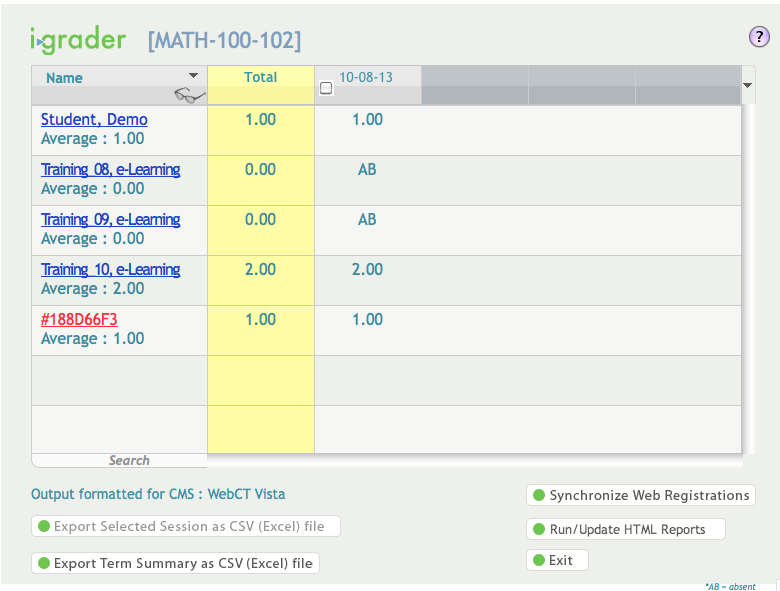
- Note: In iGrader, all the students in your course with a registered clicker will be in BLUE
- students who HAVE NOT registered their clicker in WebCT Vista as well as unregistered clicker ids will be in RED.

- 4. By clicking on each student's name, you will be able to see the student's name, student number, and their registered clicker ID.

- You can use the "Add New Clicker" feature. If you manually change the iClicker ID for a student and you re-download the class roster from Vista, the newly added clicker will not be overwritten. However, it is not added in the database that stores all the clicker IDs for Vista, which means the student's other instructors would not know that particular clicker ID belongs to that student.
- 5. Each clicker session is labeled by date. If you run more than one session on a day, the second session will have "-2" appended after the date and so on. Click on the date to rename the Session Name.

- 6. If you click on a session date, the "Session Summary" screen below will appear. You can edit Participation/Attendance Points and Points for that specific session.

- 7. iClicker takes a picture every time you ask a question. You can view the screenshot using the "View Screenshot" button.

- 8. To export the grades, select the checkbox(es) for the session(s) you would like to upload to WebCT Vista and then press "Export Selected Session(s) as CSV(Excel) file" in the bottom left corner. If you want to export all the sessions, press "Export Term Summary as CSV(Excel) file". You do not need to select any sessions with this option. Note: You have to be on a UBC secured network (eg. ubcsecure, myvpn, office internet port).

- 9. The CMS Integrate Wizard will open. If you saved your CMS login information, it will appear saved. Otherwise, re-enter your login information and press the "Login" button.
- 10. Select your course from the drop down menu. Press "Export i>clicker Scores to CMS."

- 11. A succesful message will appear to indicated a successful export. However, an error message like this might appear. All you need to do is export again, and the error message will disappear.


- 12. The students' marks will now be in the WebCT Vista Gradebook.
- 13. In the iGrader main interface page, iGrader can create Reports and view them. Press the “Run/Update HTML Reports” button.
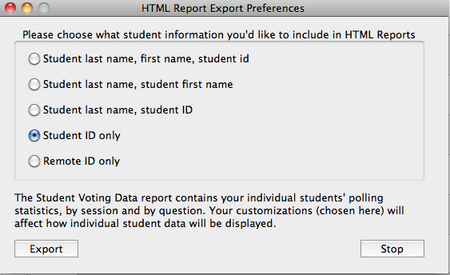
- A. The following Display Preferences pop-up will appear. Select your preference and press "Submit".
- Note: "Remote ID only" is only available beginning in version 5.5.x.
- Note: "Remote ID only" is only available beginning in version 5.5.x.
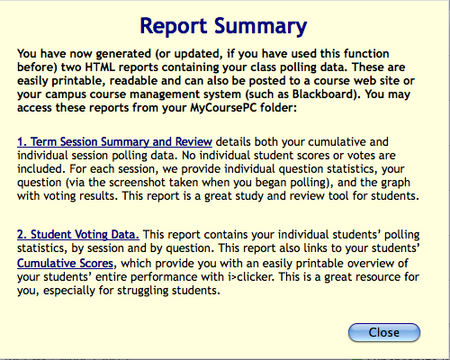
- B. A Report Summary (shown below) will pop‐up with a description of each option. You can click on each blue, underlined link to view the report.