Infobox is a box/menu that allows you to organize your wiki pages. It is often used in the front page of the project.
How to add an infobox
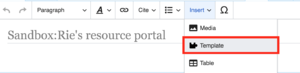
Go to Insert> TemplateIn Visual Editor, Go to Insert> Template
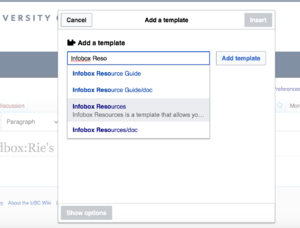
Type Infobox Resources and then click on Insert Template.Type Infobox Resources and then click on Add template.
Type Infobox Resources and then click on Insert Template.
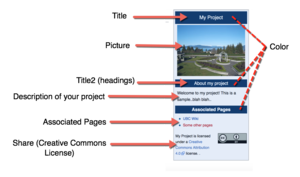
Fill in the parameters of the infobox. Below is the explanation of parameters:Diagram of how the infobox works
Title: Type the title of your Infobox here.
Title 2 (Headings) : Type the second title/Heading (located under the image) of the infobox here
Picture:Add a picture to the infobox. If you do not have a picture, it will display default UBC wiki logo instead.
Size of the picture(optional): If you wish to change the size of the picture in the infobox, type the size (for ex: 200px)
Description: Add a Description of your project
Associated Pages: In wikitext, type the pages that are associated with your project in here. Alternatively, you can also add a DPL to auto-display associated pages
Share (Creative Commons License): If you want to add a creative commons license to your infobox, type yes. if not, type no.
Color (optional): You can change the color of the infobox from here. If you leave it as it is, the color will remain blue (#6699ff )
Press Insert to insert the template. You have now inserted the template!
Example
My Project
About my project
Welcome to my project! This is a sample..blah blah..