Documentation:WordPress/Creating a Photo Gallery
Login to your site, if you haven't already done so.
Activating Easy FancyBox plugin
- Select Dashboard -> Tools -> Plugins and scroll to Easy FancyBox. On the right, there should be a link to active the plugin for your site (Enabling Plugins).
Create the Photo Gallery page
- Select Dashboard -> Pages -> Add New and create a page titled "Photo Gallery"
- Insert the Loop shortcode [loop query="post_parent=144&post_type=page" view="archive"]; make sure the post_parent is the ID for the current page
Insert Gallery shortcode to create Albums
- Select Dashboard -> Pages -> Add New and create a page titled "Album 1"
- Select "Photo Gallery" as the "Parent Page"
- Click on the Media Library button and select the files to upload
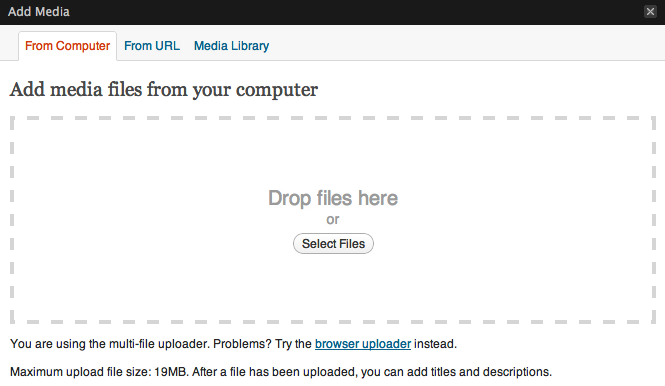
- In the Media Library lightbox, select insert gallery

create a photo gallery page upload the images to the media library go to media library and insert the gallery, select the columns
make sure that easy fancybox plugin is activated
select a featured image for a gallery
use loop shortcode to create a gallery page.
[loop query="post_parent=144&post_type=page" view="archive"]
preview the changes
let's do one more example:
create another page: Ride to Conquer Cancer 2011 create a featured image for that page make sure that the parent page is selected to be gallery page upload all the images
lightbox for the media library box.
click save all changes
scroll down to gallery settings
select gallery column "3"
this will automatically insert the [gallery] shortcode to the page
preview changes