Documentation:UBC iClicker User Guide (Windows)/WebCT Vista iClicker Course Registration

From UBC Wiki


How do you register your clicker to a designated course?

1. Go to http://www.elearning.ubc.ca/lms/login-to-vista/
2. Login to your WebCT Vista course.
C1 - CWL login.png
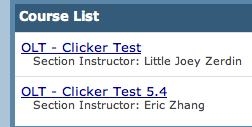
3. Select the course from the course list that you wish to have the iClicker component.
C2 - CWL Course List.png
4. Click on the "Build" tab.
C3 - Build Tab.png
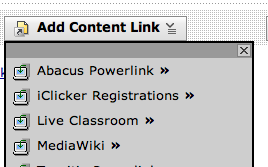
5. Click on "Add content Link"
C4 - Add Content Link.png
6. Select from the drop down list "iClicker Registration"
7. Click "Create iClicker Registration"
C5 - Create iClicker Reg Button.png
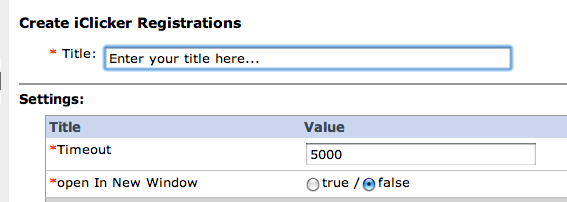
8. Enter any title, i.e. "Register Your Clicker"
9. "Timeout" value should be set to 5000, and "open In New Window" should be set to "False".
C6 - iClicker Vista Registration.png
10. Press "Save" and the following will appear.
C7 - Register Complete.png
11. Click on the "Student View", and the iClicker registration icon should look like this:
C8 - Student Clicker Registration.png
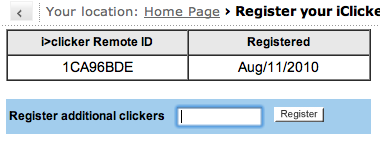
12. Click on the registration link and it should look something like this:
C9 - Enter Registration ID.png
13. After registering the clicker, the screen will appear:
C10 - Student Clicker Registration Complete.png