Elearning:StudyMate Setup Instructions
Installing the StudyMate Author Client
Please follow the instructions and illustrations on how to install and configure the StudyMate client software for your computer.
- Close all applications before beginning installation, in particular any word processor programs.
- Double click StudyMateCampus.exe to open Winzip Self Extractor Program.
- Upon completion of extraction, you will have a folder containing the "studymate.exe" file (i.e. C:\program files\Studymate) on your workstation.
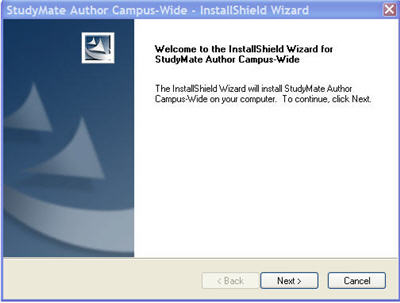
- Follow the setup instructions of the StudyMate Author Install Wizard.
- Upon installing the application on your computer, you will need to start the StudyMate Author application
- Initial install will require the user to fill in the Campus Wide License information. Fill in the required fields with the following information and then press License:
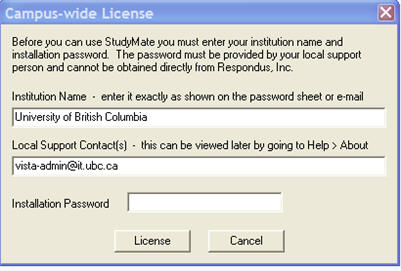
- Institution Name: University of British Columbia
- Local Support Contact(s): vista-admin@it.ubc.ca
- Installation Password: Provided in StudyMate Subscription and Download Information area.
- Now that StudyMate has been successfully installed, you can now "Publish" to WebCT Vista
Publishing StudyMate to WebCT Vista
You will need the following information to publish your Studymate Author to Vista:
- Your Vista course URL (i.e. www.vista.ubc.ca/webct/urw/lc5116011.tp0/cobaltMainFrame.dowebct)
- The StudyMate Author License information
- Your Utility ID and Password
If you have misplaced this information, please re-subscribe at the Elearning Tools section.
Publishing Steps
- Choose CMS Personality: CE 6 - 8/ Vista 4 - 8
1. Click on the tab: Preview & Publish then select Publish to WebCT

2. Select the type of Publish (standard or scorm)
3. From the drop list, select: Add New Server
4. A new window "Server Information" will open: enter your Vista Course URL Information and complete the information fields
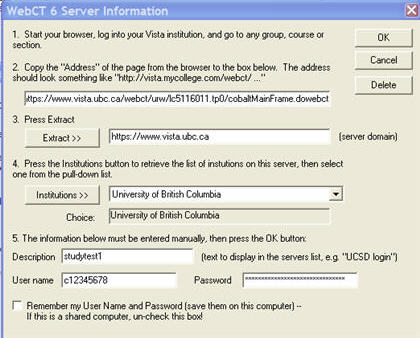
5. From your drop list, select your Vista Course Section and complete the required fields
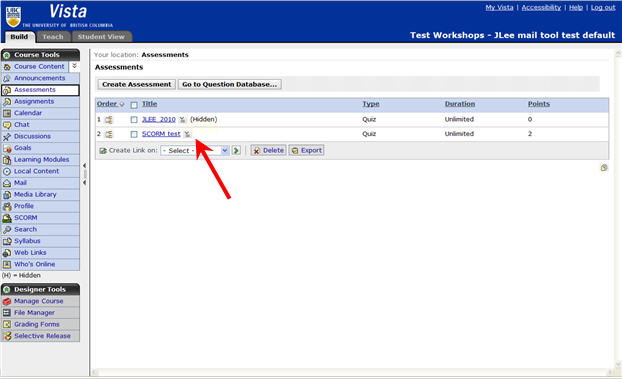
6. A confirmation window in StudyMate Author Window will be displayed

7. In your Vista course, the Quiz should be accessible in your Assessment Tool