Documentation:UBC iClicker User Guide (Windows) - WebCT Vista: Adding iClicker Registration to Your Course
How do I let my students register their clickers?
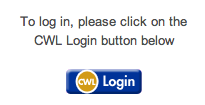
- Go to WebCT Vista
- Login to your WebCT Vista course.
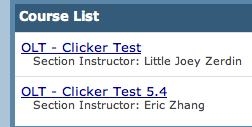
- Select the course from the course list that you wish to have the iClicker component.
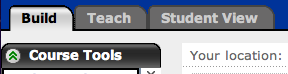
- Click on the "Build" tab.
- Click on "Add content Link".
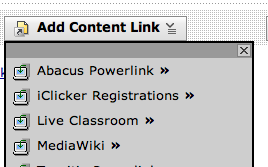
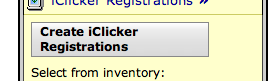
- Select from the drop down list "iClicker Registration"
- Click "Create iClicker Registration".
- Enter any title, i.e. "Register Your Clicker". "Timeout" value should be set to 5000, and "open In New Window" should be set to "False".

- Press "Save" and the following will appear.

- Click on the "Student View", and the iClicker registration icon should look like this:

- Click on the registration link and it should look something like this:

- After registering the clicker, the screen will appear:


