Documentation:LifeSize
Appearance
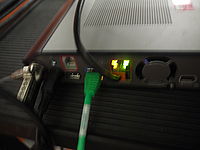
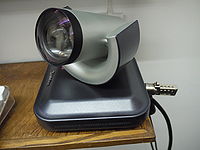
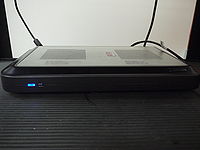
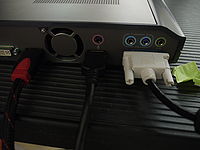
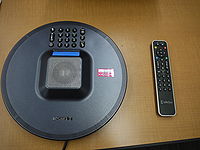
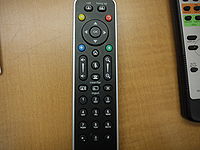
LifeSize is an audio and video communications service that provides HD videoconferencing. It can support meetings, classes, conferences, and presentations for situations where distance is a factor.
How To Set Up LifeSize
You will need the following hardware to set up Life Size:
- Two HDMI cables
- Two Ethernet cables
- One four pin male aviation cable
- One power adapter cable
- A monitor
- The LifeSize reciever
- The LifeSize camera
- The LifeSize audio and control platform
- The LifeSize Remote
- VGA to HDMI cable(optional use for presentations)
To get LifeSize set up, follow these steps:
- Using an HDMI cable, connect the camera to the left HDMI port on the back of the receiver.
- Connect the camera to a power outlet using the power adapter cable.
- Connect the monitor to the second HDMI port on the receiver using an HDMI cable.
- Connect the Ethernet port to the blue outlined Ethernet port on the receiver using an Ethernet cable.
- Connect the LifeSize audio and control platform to one of the networker outlets on the receiver using an Ethernet cable.
- Connect the receiver to a power outlet using the four pin male aviation cable.
- Switch to the appropriate input on your monitor, and LifeSize is ready to use!
The three options on the front page of LifeSize are Video call, redial, or Voice call. Select the option that is appropriate for your use. You will be given a meeting id, and/or a video number. Input these value when prompted using the remote or control panel. LifeSize will bring you into the meeting room. To run a presentation in LifeSize, click the green button on the remote.