Documentation:Digital Media Transfers
RBSC Digital Media Transfers
The digital files transfer workflow provides a step-by-step guide on how to transfer digital files stored on CD, DVD, floppy discs, and USB drives using Teracopy and Bagger, in order to preserve materials in a secure backup location and provide access. Please note that this workflow is part of RBSC's digital preservation workflow. It does not replace the transfer and ingest of files into Archivematica.
This guide is part of the RBSC Archives Toolkit.
RBSC digital files transfer workflow created by Marion Arnott, RBSC Co-op student and Jacky Lai, RBSC Archives Assistant.
Teracopy
Use Teracopy to access and transfer files from source carrier to a safe environment (ex. laptop with no network connection).
- Insert CD/DVD into disc drive in laptop/insert floppy disc into appropriate reader
- Open TeraCopy
- Click “More” at bottom left corner or TeraCopy command box
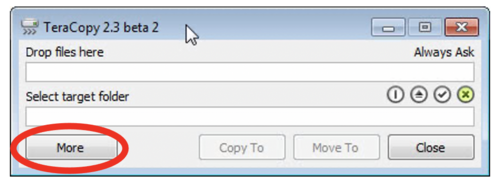
Click “More” at bottom left corner or TeraCopy command box - In File Explorer/My Computer view files contained on carrier in a list
- Drag all digital files into TeraCopy
- Click “Copy ” near top right of TeraCopy command box
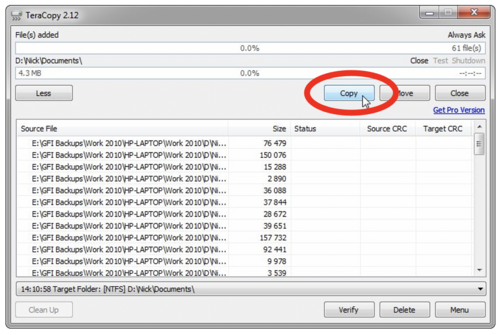
Click “Copy ” near top right of TeraCopy command box - This is prompt you to establish a new location for the files to be stored
- Select an existing folder or create a new folder to house the transferred files
- The folder destination should be labelled with the appropriate RBSC identifier and include 2 subfolders: 1. Objects (for digital files) 2. Metadata (CSV information, any additional metadata captured during transfer)
- Allow TeraCopy to copy data
- A green check mark should appear on the left side next to the file listing
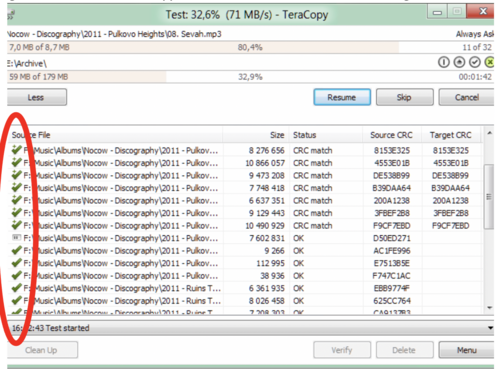
A green check mark should appear on the left side next to the file listing - Once complete, highlight all the files and right click
- Select “Export CSV”
- Save the file in the metadata subfolder of the new destination
- Transfer is complete
- Eject Carrier
- If the carrier has a label or written metadata attached, take a photograph of this information in front of a whiteboard or paper labelled with the identifier
- If the carrier has a case with labels or other information, follow step 17.
- Label the photograph files with the RBSC identifier and other contextual information
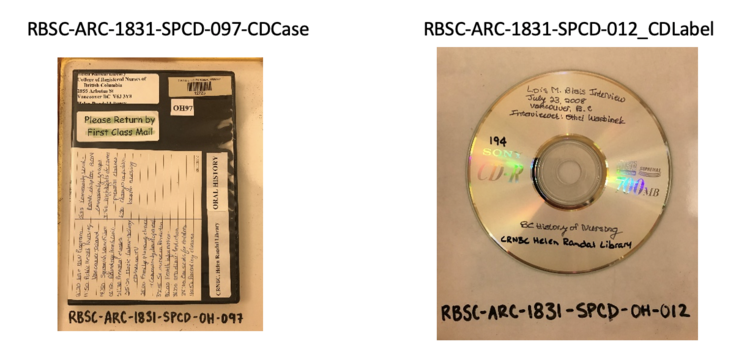
Label the photograph files with the RBSC identifier and other contextual information - Save photographs in the “Metadata” subfolder
- Copy folders of transferred data and metadata to RBSC SSD
- Save files to RBSC S:Drive or other secure backup location (see Bagger instructions below for step-by-step instructions)
- If any errors occur, consult with Archives Assistant


Bagger
Use Bagger to bag folders and files so they can be neatly and safely transferred from an external drive to the destination location (ex. another external drive or the S: Drive) or vice versa.
Bagger Demo
https://www.youtube.com/watch?v=VWNaUUeiLYI
Install Bagger
- Install Java from https://java.com
- Download the latest release from https://github.com/LibraryOfCongress/bagger/releases/latest
- Unzip to a location. This will be known as <BAGGER_INSTALL_DIRECTORY> for the rest of the instructions
Run Bagger on Windows
- Navigate to <BAGGER_INSTALL_DIRECTORY>\bin
- Double-click on the bagger.bat file
- Click Run
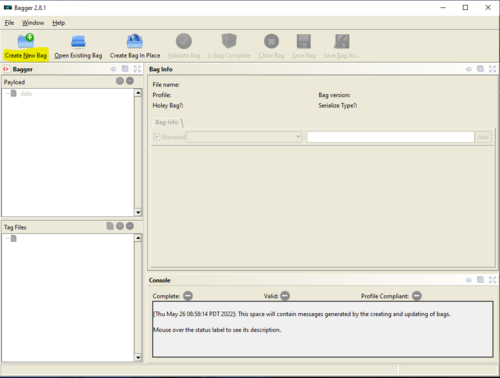
Create bags
- Click on “Create New Bag”
thumb - Ensure the values below are not changed and then click “OK”:
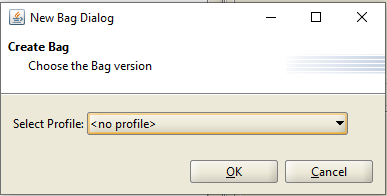
Ensure the values below are not changed and then click “OK” - Bag version: 0.96 - This may be hidden in some versions of Bagger
- Select profile: <no profile>
- Click green circle with plus sign next to “Payload”
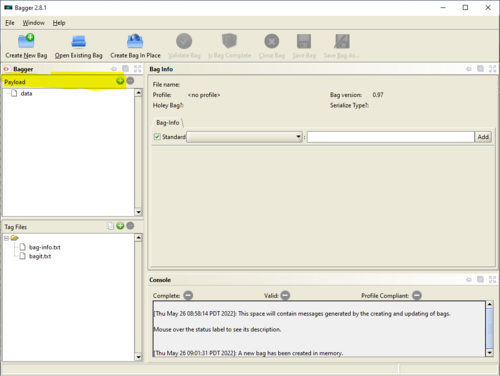
Click green circle with plus sign next to “Payload” - Navigate to and select the folders or files you would like to be bagged and click "Open"
- Click “Save Bag As…”
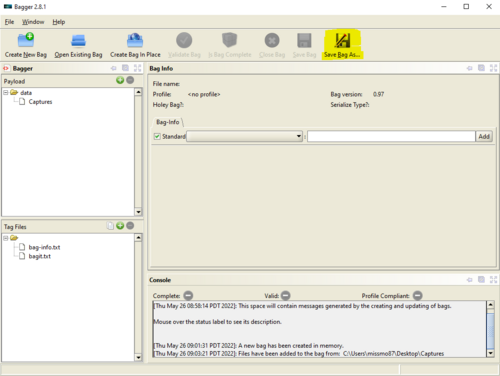
Click “Save Bag As…” - Browse to the location you’d like to save your bag, enter the name of the bag, and click "Save"
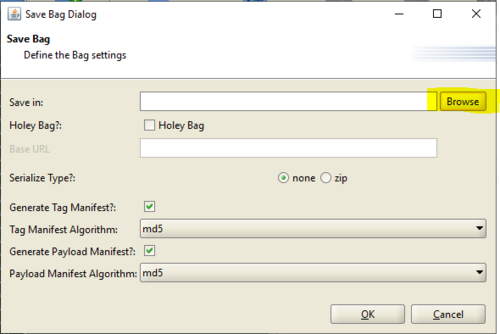
Browse to the location you’d like to save your bag 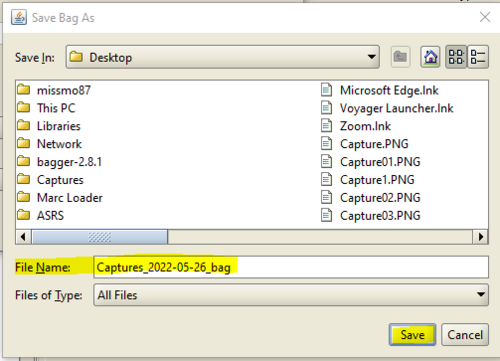
Enter the name of the bag, and click "Save" - Always end the bag name with “_bag”
- Don’t use special characters
- Use underscore instead of spaces
- Include the date the bag was made
- Once you’ve chosen the destination of the bag, change the tag manifest algorithm and manifest payload algorithm to “sha256”
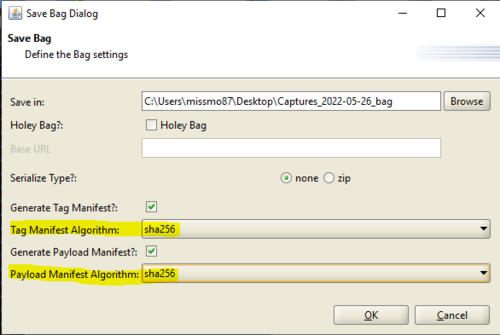
thumb - Always end the bag name with “_bag”
- Click “OK”
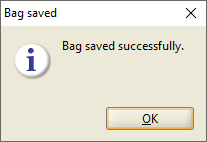
- When Bagger is finished bagging, a new pop-up window will report that the bag has been saved successfully
- Click “OK” to see information about your bag
Click “OK” to see information about your bag - After you have created your bag, you want to validate it to make sure that the bag just created is in fact valid
- Click on the “Validate Bag” button
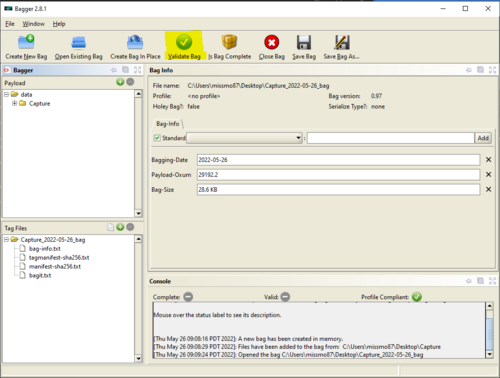
Click on the “Validate Bag” button - A checkmark inside of a green circle will appear at the center-bottom of the window
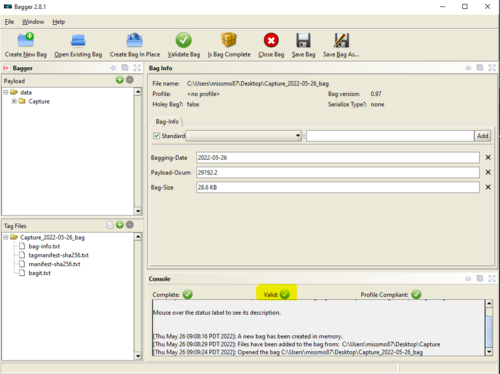
A checkmark inside of a green circle will appear at the center-bottom of the window - You have successfully create and validated a bag
- Close Bagger


Identifiers
- Use RBSC-ARC-XXXX-BD-XXXX for born digital records (Digital media)
- Use RBSC-ARC-XXXX-DO-XXXX for digital objects (i.e. digitized content)