Documentation:Adding Students to Your Course Blog
UBCBlogs provides an "ADD USERS" plug-in to make it easier for you to have students self-enrol in your course blog. The steps below make it easy for you to set up yourself. There are 2 very important parts to this process:
- Adding the plug-in and configuring the widget for your course blog.
- Notifying students of the 2 step process for adding themselves to your blog.
You may choose to notify students of the sign up process either by email or via an announcement in class. Attention to this step will reduce confusion and get your class off to a good start.
Video
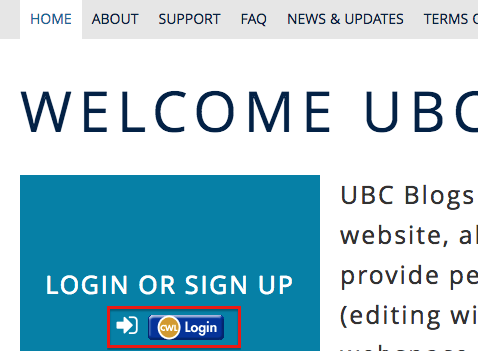
Step 1: Login to your UBC Blog.
- Go to blogs.ubc.ca and click on the CWL Login button.
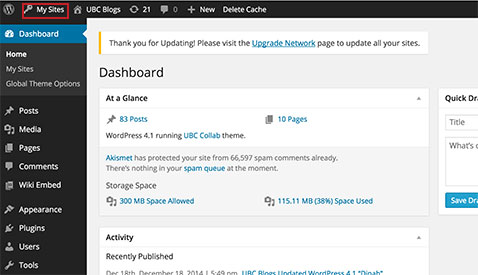
- Click on My Sites.
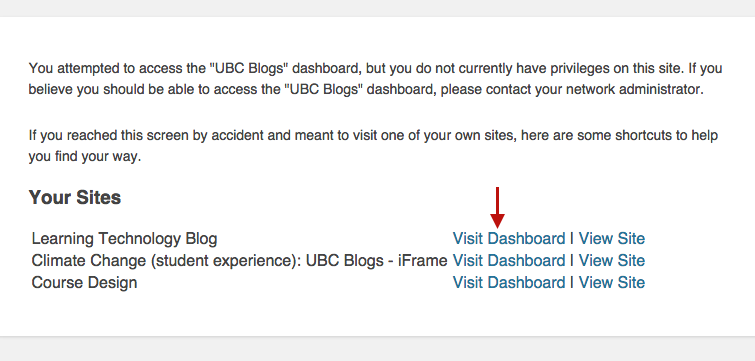
[1] - Look for your site that you want to add your students, then click on Visit Dashboard.


Step 2: Make sure your site is visible
Make sure the settings on your blog allow users to find it without having to log in first. This will reduce the chance of problems during the adding phase. You can always adjust these settings later if you want your blog NOT to be visible to the public.

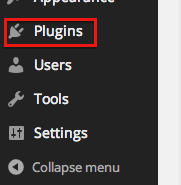
Step 3: Add the plugin
- From the left side bar in the dashboard, go to Plugins.
- Look for Add Users Sidebar Widget. 1.0.3 and click on Activate.


Step 4: Add the widget
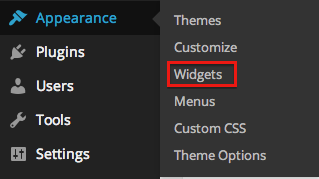
- From the left sidebar, hover on Appearance.Then select Widgets.
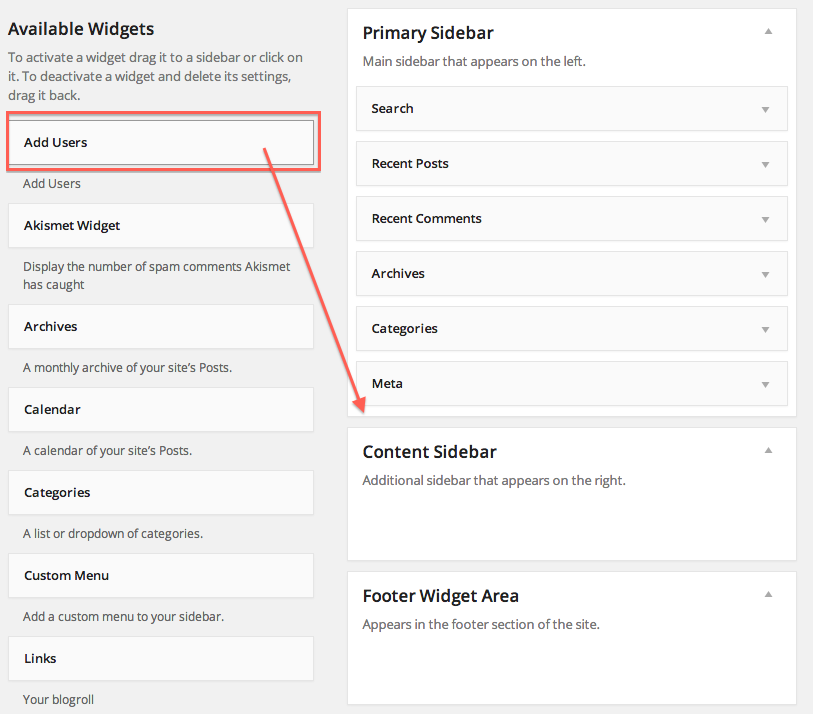
- Click and drag on the Add Users widget to the sidebar where you would like to make the Add User button to appear.


Step 5: Configure the widget
- Under Add Users, insert a title. Select either of Subscriber, Contributor and Author depending on the level of access you want your students to have.
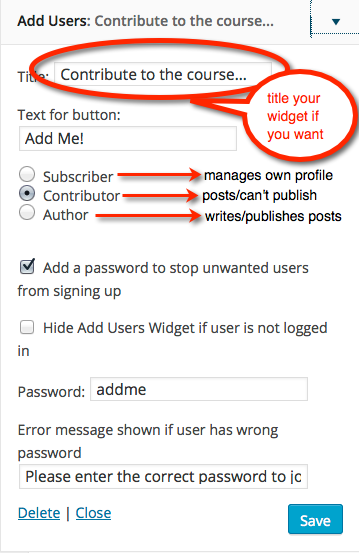
- Subscriber: Students can manage their profile. Students cannot create a new post or pages.
- Contributor: Students can create a new post, but cannot publish the post. They won't be able to upload media (for ex: image, audio, pdf file) to the blog, but they are still able to embed YouTube videos or slides.
- Author: Students can write, edit, and add media to their own post.
- (Recommended) Check Add a password to stop unwanted users from signing up. This will avoid random users registering to the website. Then, set a password.
- Press Save.

Step 6: Check the result
- Now your students will be able to see the "Add User" section on the sidebar.

note: This is an example of what your students will see when they access to your blog. You will not be able to see this screen when you are logged in with your CWL

Step 7: Notify your students
This is a very important part of the process. Send an email to your students asking them to do 2 things:
- Get an account on blogs.ubc.ca. They just need an account - not a personal blog (unless this is part of your requirement).
- Go back to the course and add yourself to the blog with the password provided. Remember to include your blog url AND the password in your email.
When students return to the blog in future, they will need to login to blogs.ubc.ca if they want to contribute.