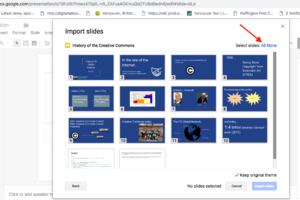
Select All Slides to import all slidesBeside select slides, click on All to import all of your slides. After you have selected, press Import Slides.
All of the slides are imported. Make necessary adjustment.
(Important step) In order to make the slide embeddable, select File>Publish to the web to make the Google Slide publicly available
Step 2: Embed the Google Slide on your page
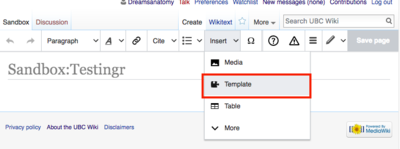
On editor, select Insert>TemplateOn editor, select Insert>Template.
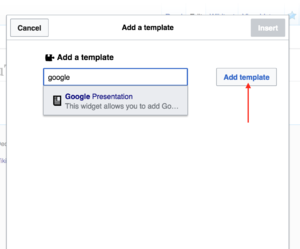
Under template, type in "Google Presentation" then select Add template Under template, type in "Google Presentation" then select Add template
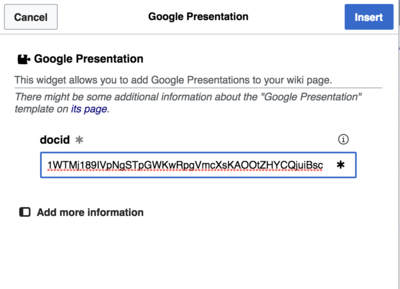
The parameter for the Google slideThe docid is the parameter in document URL. Find the docid for your presentation and enter the doc id. For example, if the URL of the presentation is https://docs.google.com/presentation/d/18PBCgIGhxHWR9KxeSnbSXClyVBob1vL-98orPuiOQIQ/edit#slide=id.p ,the doc id is the bolded part of the URL. If you want to change the size of the Google slide, you can click on "Add more option" to change the size of the google slide. If you're satisfied with the option, click on Insert. The part highlighted by red is the doc id
After you insert the template, you will see a block of code that looks like "Start Widget.." . ignore the code and save the page.
You're done! You have embedded Google slides to your page.
Adding Google Prensentation via wikitext mode
You can use the code below to embed the google presentation:
{{Google Presentation|docid=presentation ID here }}
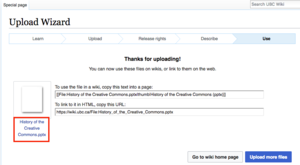
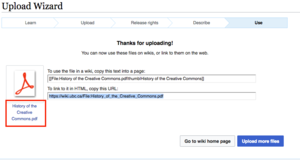
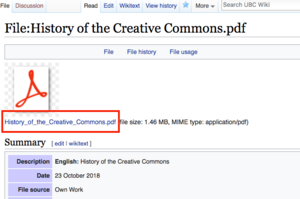
When you're at the end of Upload Wizard (i.e.the screen that says "Thanks for uploading") Click on the file name below the PDF image to go to the file page. Click on the file name below the image to go to the file page
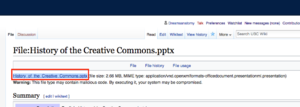
You are at the file page. Right click on the file name under the PDF right click on the file name under the PDF file image and copy the link to the PDF . right click on the file name to get the link to the PDF
Go back to your wiki page. Insert a link using the link button () .
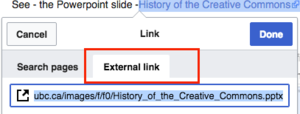
Click on the external link tab. Paste the link that you have copied from step 3. Then Press Doneclick external file and paste the link
You're done! Now you have created a link to a powerpoint pdf.
Method 3: Upload your slide as a powerpoint file (.pptx)
Example
See - the Powerpoint slide -History of the Creative Commons (note: the powerpoint will automatically download to your desktop)
When you're at the end of Upload Wizard (i.e.the screen that says "Thanks for uploading") Click on the file name to go to the file page. click on the file name to go to the file page
You are at the file page. right click on the file name and copy the link to the [powerpoint . right click on the file name
Go back to your wiki page. Insert a link using the link button () .
Click on the external link tab. Paste the link that you have copied from step 3. Then Press Doneclick external file and paste the link
You're done! Now you have created a link to a powerpoint slide.
Other methods of uploading slides
Other than the 3 methods that are recommended in the above, there are other ways to embed slides such as SlideShare and Prezi. To learn how to embed the slide in Slideshare or Prezi, see the help page below:


 ) .
) .