Documentation:CTLT 2.22 Lecturn Cheat Sheet/Using Your Own Laptop
Using Your Own Laptop
- Choice of one or two projector screens
- One screen is on the white wall, one on the red wall
- HDMI or VGA outputs from your laptop are required
- Most Mac users will require their own dongles
- Most Windows laptops come with a VGA port
- An HDMI extension cable is provided
- Follow the steps below to set up your laptop and the projector
- Plug your laptop into the power bar provided on the Lecturn so it doesn't run out of battery
- Touch the Crestron Screen at the front of the room to get it started if it is asleep, or open the Crestron app on the 2.22 iPad (removable from its wall dock) - the iPad can control the Projectors/Audio from anywhere in the room
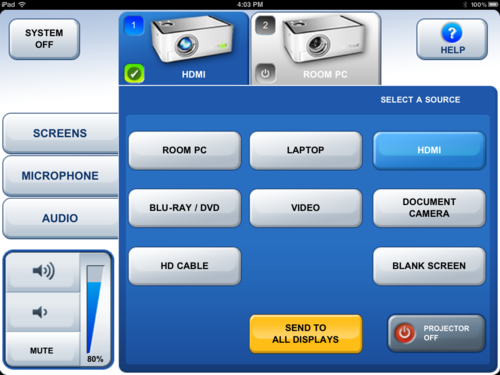
- Select the Projector(s) you would like to use: Red Wall, White Wall, Both, or Audio Only (White Wall is preferred if using the whole room, Red Wall if only using the Northern half of the room)

- Select "Laptop" if you are using the VGA input
- Select "HDMI" if you are using the HDMI input
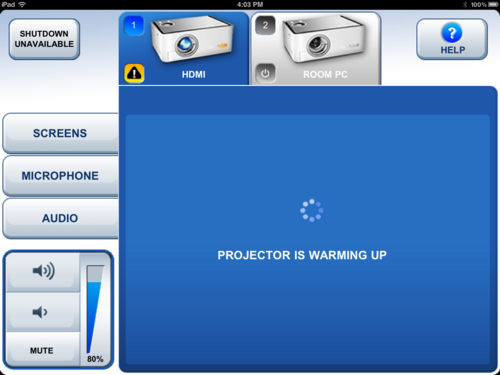
- Wait a minute or two for the Projector(s) to warm up and finish starting up
- Set your laptop's display settings to the desired configuration