Documentation:CTLT 2.22 Lecturn Cheat Sheet/Interactive Projector Own Laptop
Note: You will need to install the drivers for the pen to function - http://tinyurl.com/5we7r2z
- Roll the Portable Lecturn out of the storage room at the corner of 2.22B, and place it close to the storage room door so that is in close enough proximity to the projector inputs and the power outlets
- Plug the Portable Lecturn into the wall
- Plug your laptop into the power bar inside the portable lecturn so it doesn't run out of battery
- You will require VGA output
- Most PCs come with a VGA port
- Macbooks require a connector from a Mac output port (either DVI, mini DVI, thunderbolt, etc) depending on the version of Macbook
- HDMI is not available
- Plug the VGA connector from the wall into your laptop
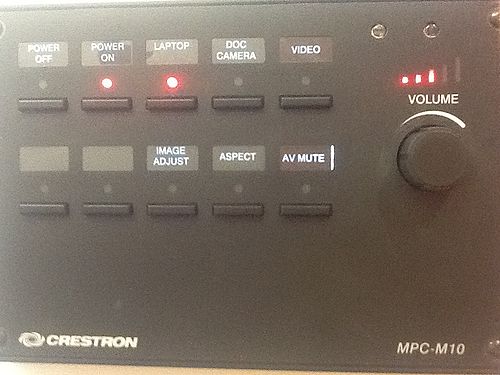
- From the Crestron wall panel, select "Power On" and "Laptop"
- Set your laptop display settings as desired (mirroring, presenter mode, etc)
- If necessary, wait a minute for the projector to finish warming up
- Plug the white USB cable from the wall into your laptop to use the interactive features of the projector
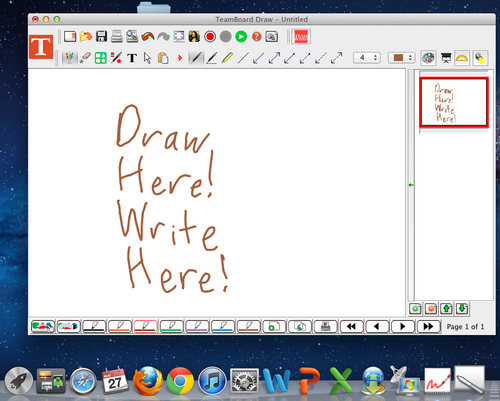
- Start up TeamBoard Draw
- Locate the e-marker, found inside the lecturn:
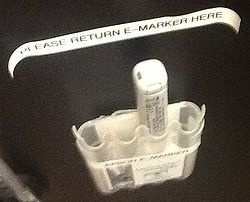
- The e-marker can be used to open applications on the projector, and perform other regular left-click operations
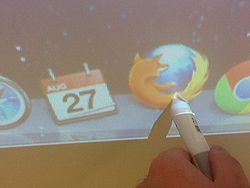
- TeamBoard Draw can be used to write, draw, annotate, etc, using the e-marker