Documentation:Phar330 Training
Welcome to Pharmacy 330 Blog Training
Welcome to this intro session to using WordPress.
This Wiki
This wiki page is available online at http://wiki.ubc.ca/Documentation:Phar330_Training
Step-by-Step Tutorial
Step 1: Getting Access to the Blog
For the 19 group leaders who will be posting to the blog, you will each need to be added to the blog individually.
Follow these steps:
- Send your email address to Dr. Reid, he will add you to the blog.
- You will receive a "blog invite" email. Click on the link to activate your account.
- Enter your CWL ID and password, provide your info and select User Account Only (since you do not need your own blog).
- Click Continue.
You should be added to the blog. IF you encounter problems, go back to your initial "blog invite" email and click on the link to activate your account again, and enter your CWL info.
You're done!
Step 2: Logging In (from now on)
- Using your CWL ID and password, login to the blog using the link below. (see Figure 1 right):
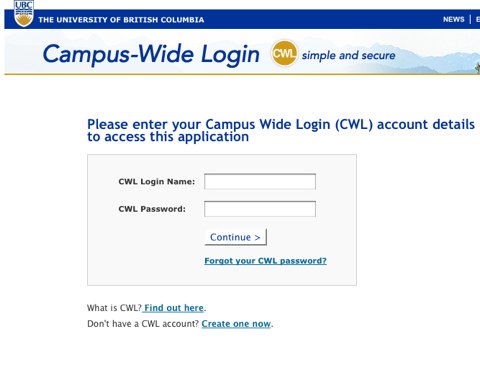 Figure 1: CWL Login Screen
Click this link to LOGIN https://blogs.ubc.ca/phar330/wp-login.php

- Bookmark this link - https://blogs.ubc.ca/phar330/wp-login.php - you'll need to use it each time you login.
Step 3: The Dashboard

Figure 2: Dashboard
- The Dashboard (See image Figure 2 at right) provides you with an at-a-glance snapshot of the activity on the blog, such as: pages, posts, categories, and the QuickPress tool. From the Dashboard, you can also access a variety of tools on the left hand menu bar.
- At the top of the Dashboard, click the Visit Site button to see the live version
Step 4: Adding a New Post

Figure 3: Adding a New Post
- From the Dashboard or the upper navigation menu select Posts - Add New
- You can edit Posts you have already written by selecting Edit
Step 5: Writing a Post

Figure 4: Formatting a Post
- From the Add New Post area you can enter a title, add your text and format it using the WYSIWYG menu options.
- You can bold fonts, increase font size, change the colour, make bulleted lists, insert images, and hyperlinks, etc.
Step 6: Categorizing your Post

Figure 5: Choose Categories

Figure 6: Publish or Preview
- Scroll down to the Categories list on the right, choose one or more appropriate categories.(see Figure 5 image at right)
- These categories help to organize the content on the blog by theme, making it easier for readers to find information.
- When you have finished formatting and categorizing your post click Preview to see what your post will look like, to make your posting live click Publish and visit your site.
Step 7: Adding an Image

Figure 7: Adding an Image
- From the Add New Post or Edit Post area..
- On the Upload/Insert toolbar click the Add an Image icon. (see Figure 7 image at right)
- The Add an Image window appears. Click Select Files.
- Locate an image from your computer, and click Select (click OK on a PC).
- Enter a title, caption, a description of the image, and select an image size to be displayed on your page. (Note: the default is Full Size). Click Insert into Page.
- When you have finished formatting your page, click Update Page on the far right-hand side and visit your site.
Step 8: Adding a File

Figure 8: Adding a File
- From the Add New Post or Edit Post area..
- On the Add Media toolbar click the Add Media icon. (see Figure 8 image at right)
- The Add an Image window appears. Click Select Files.
- Locate a file from your computer, and click Select (click OK on a PC). Click Save all Changes.
- Select your PDF from the list of documents and enter a title, caption, and a description.
- Click File URL.
- Click Insert into Post
- When you have finished inserting media, click Update Page on the far right-hand side and visit your site.
Step 9: Commenting on Posts

Figure 9: Commenting on a Post
- To leave a comment on a post, click on the "with xx comments" text below the title. (see Figure 9 image at right)
- Enter your name, email address and your reply. Confirm you're not a computer by typing out the words displayed.
- Click Submit Comment